MLSQL深度学习入门【一】
本文所有代码示例都基于MLSQL Engine最新版本 2.1.0-SNAPSHOT
本文将使用MLSQL Console的notebook演示深度学习的Hello world示例-mnist数据集。
系列文章列表:
- MLSQL 机器学习最简教程(无需Python!)
- MLSQL深度学习入门【一】
- MLSQL深度学习入门【二】-分布式模型训练
- MLSQL深度学习入门【三】-特征工程
- MLSQL深度学习入门【四】-Serving
环境要求
必要软件:
- 最新版本的MLSQL Engine/Console.
- Ray 1.3.0(可选)
Python依赖如下:
pip install Cython
pip install ray==1.3.0
pip install tensorflow
pip install aiohttp psutil setproctitle grpcio pandas
pip install watchdog requests click uuid plotly
pip install pyjava>=0.2.8.8
这些依赖仅需MLSQL Engine Driver节点有即可(也可以在所有Executor节点部署)。 如果部署了Ray,Ray所有的节点都需要有这些依赖。
准备数据集
我们既可以自己下载mnist数据集,然后通过Console的上传功能上传到对象存储上,也可以使用MLSQL 第三方库 lib-core 来获得我们需要的数据集。在本文中,我们将使用lib-core来完成。
示例代码如下:

我们来分段解析下对应的MLSQL 代码;
第一部分代码:
include lib.`github.com/allwefantasy/lib-core` where
force="true" and
libMirror="gitee.com" and -- proxy configuration.
alias="libCore";
引入第三方库 lib-core.
第二部分代码:
include local.`libCore.dataset.mnist`;
!dumpData /tmp/mnist;
引入模块 dataset.mnist,该模块提供了 !dumpData命令,允许你将数据dump到指定目录。
现在,我们看看我们已经导入的数据是什么样子的:
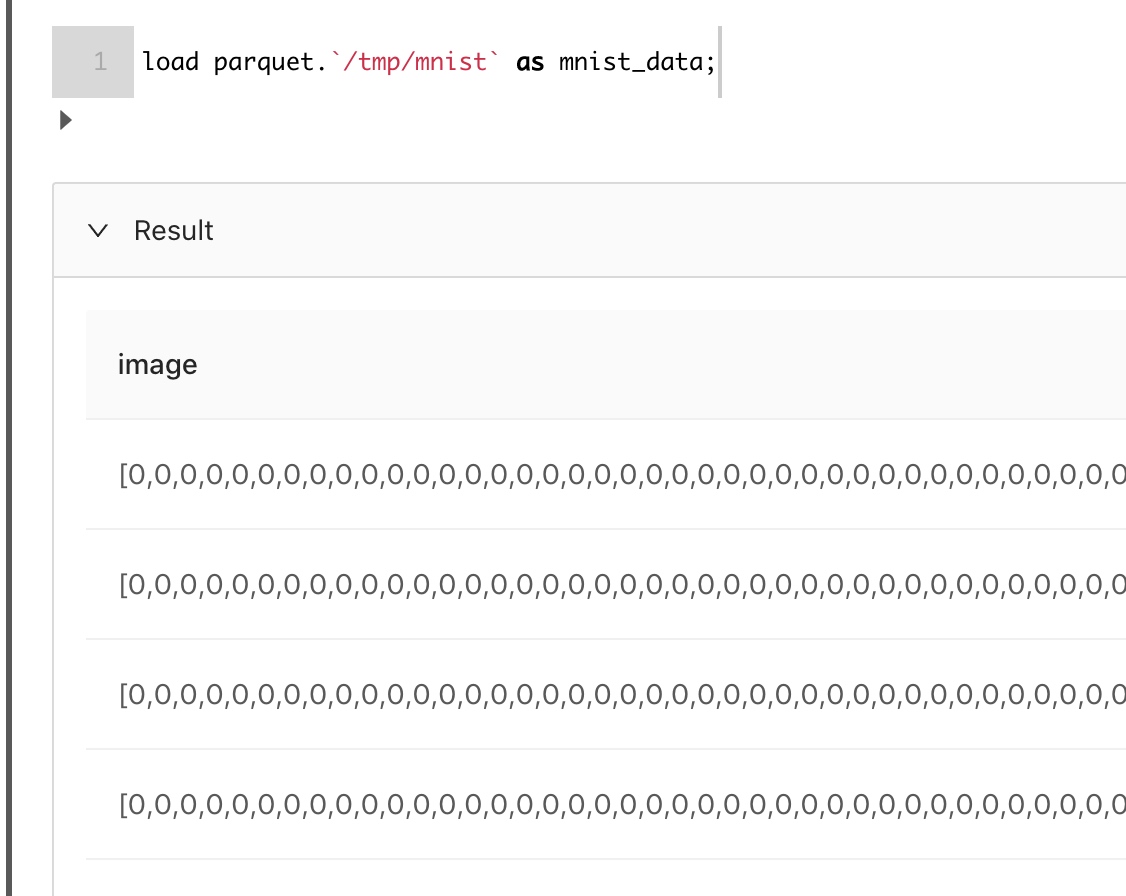
可能看不太清楚,没关系,我们可以先看看都有哪些字段以及对应的类型:

接着我们看看数组的长度:
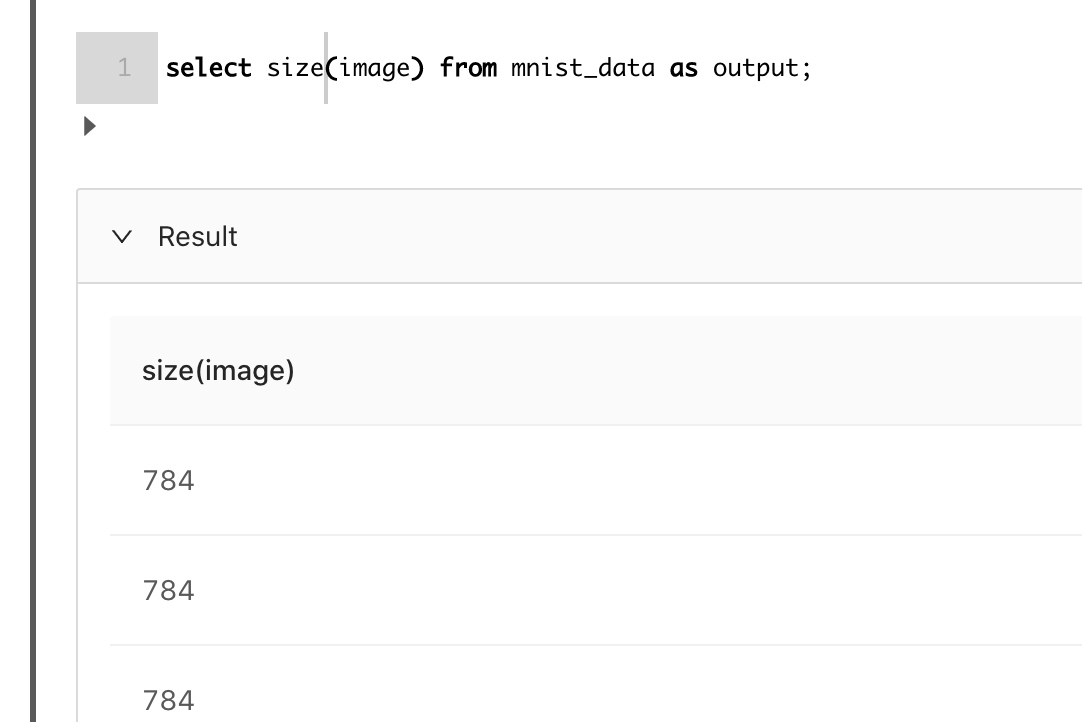
这里看到我们把28*28的图片展开成一个数组了。
下一步,我们做模型训练。
使用Tensorflow进行训练(非Ray版本)
首先,我们需要设置下的环境:
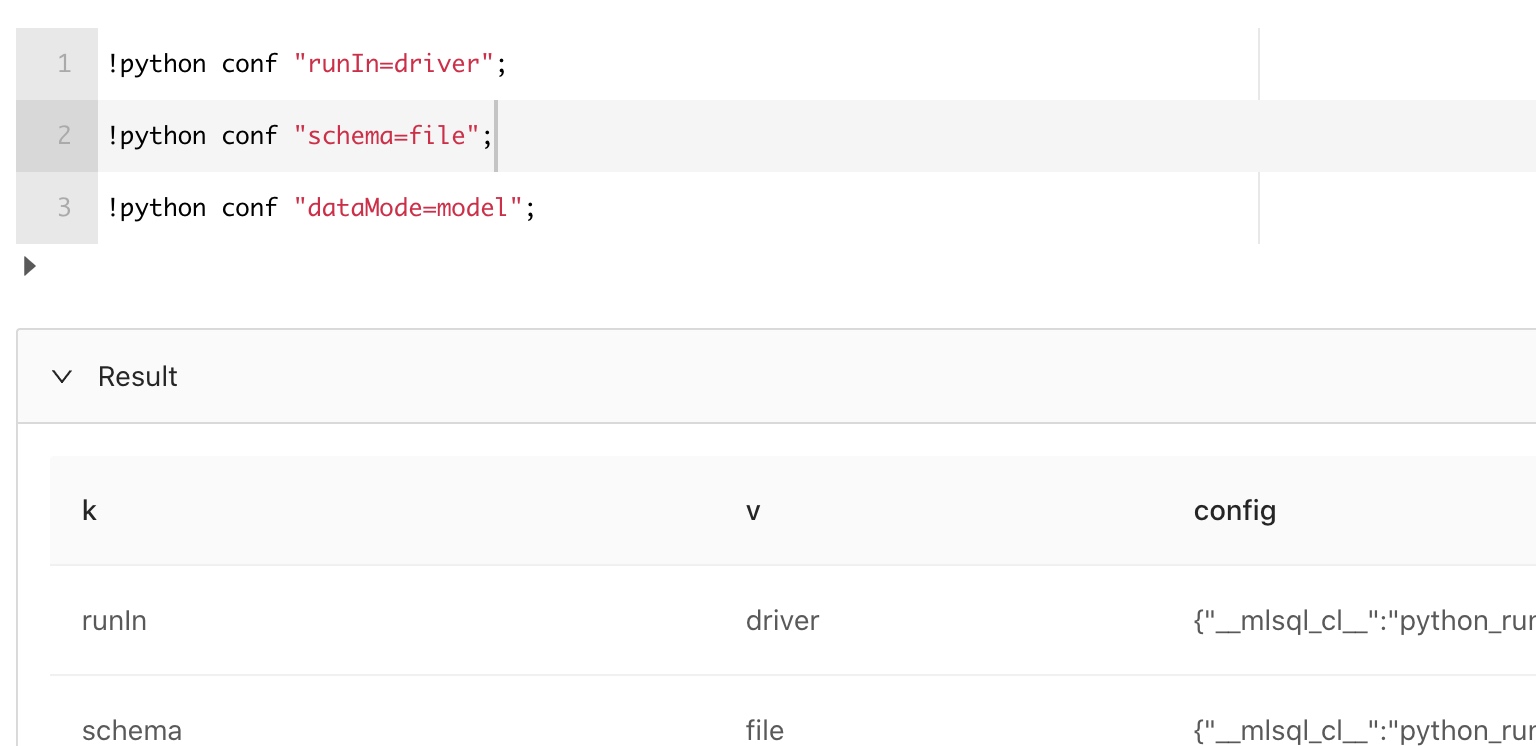
简单介绍下:
-- Python client会运行在driver端,
-- 因为driver端有必要的环境
!python conf "runIn=driver";
-- Python输出的格式是文件目录类型
!python conf "schema=file";
-- 使用model模式
!python conf "dataMode=model";
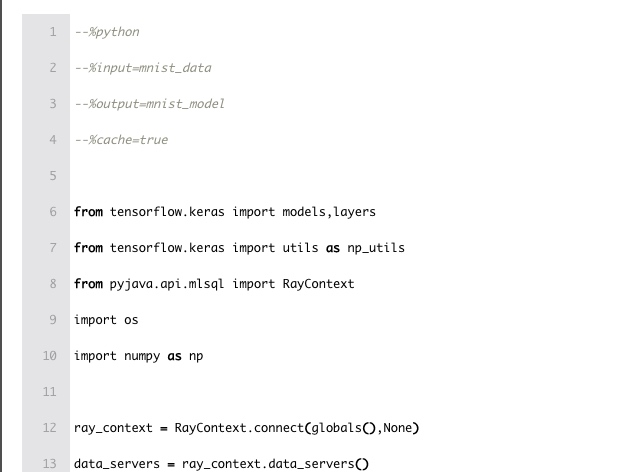
现在,我们可以开始写代码Python代码。在MLSQL Console的Notebook中,我们可以在cell中直接写Python代码。具体如下:
执行结果如下:
下面是当前cell里完整的代码:
#%python
#%input=mnist_data
#%output=mnist_model
#%cache=true
from tensorflow.keras import models,layers
from tensorflow.keras import utils as np_utils
from pyjava.api.mlsql import RayContext
import os
import numpy as np
ray_context = RayContext.connect(globals(),None)
data_servers = ray_context.data_servers()
def data():
temp_data = [item for item in RayContext.collect_from(data_servers)]
train_images = np.array([np.array(item["image"]) for item in temp_data])
train_labels = np_utils.to_categorical(np.array([item["label"] for item in temp_data]) )
train_images = train_images.reshape((len(temp_data),28*28))
return train_images,train_labels
def train():
train_images,train_labels = data()
network = models.Sequential()
network.add(layers.Dense(512,activation="relu",input_shape=(28*28,)))
network.add(layers.Dense(10,activation="softmax"))
network.compile(optimizer="rmsprop",loss="categorical_crossentropy",metrics=["accuracy"])
network.fit(train_images,train_labels,epochs=6,batch_size=128)
model_path = os.path.join("tmp","minist_model")
network.save(model_path)
return model_path
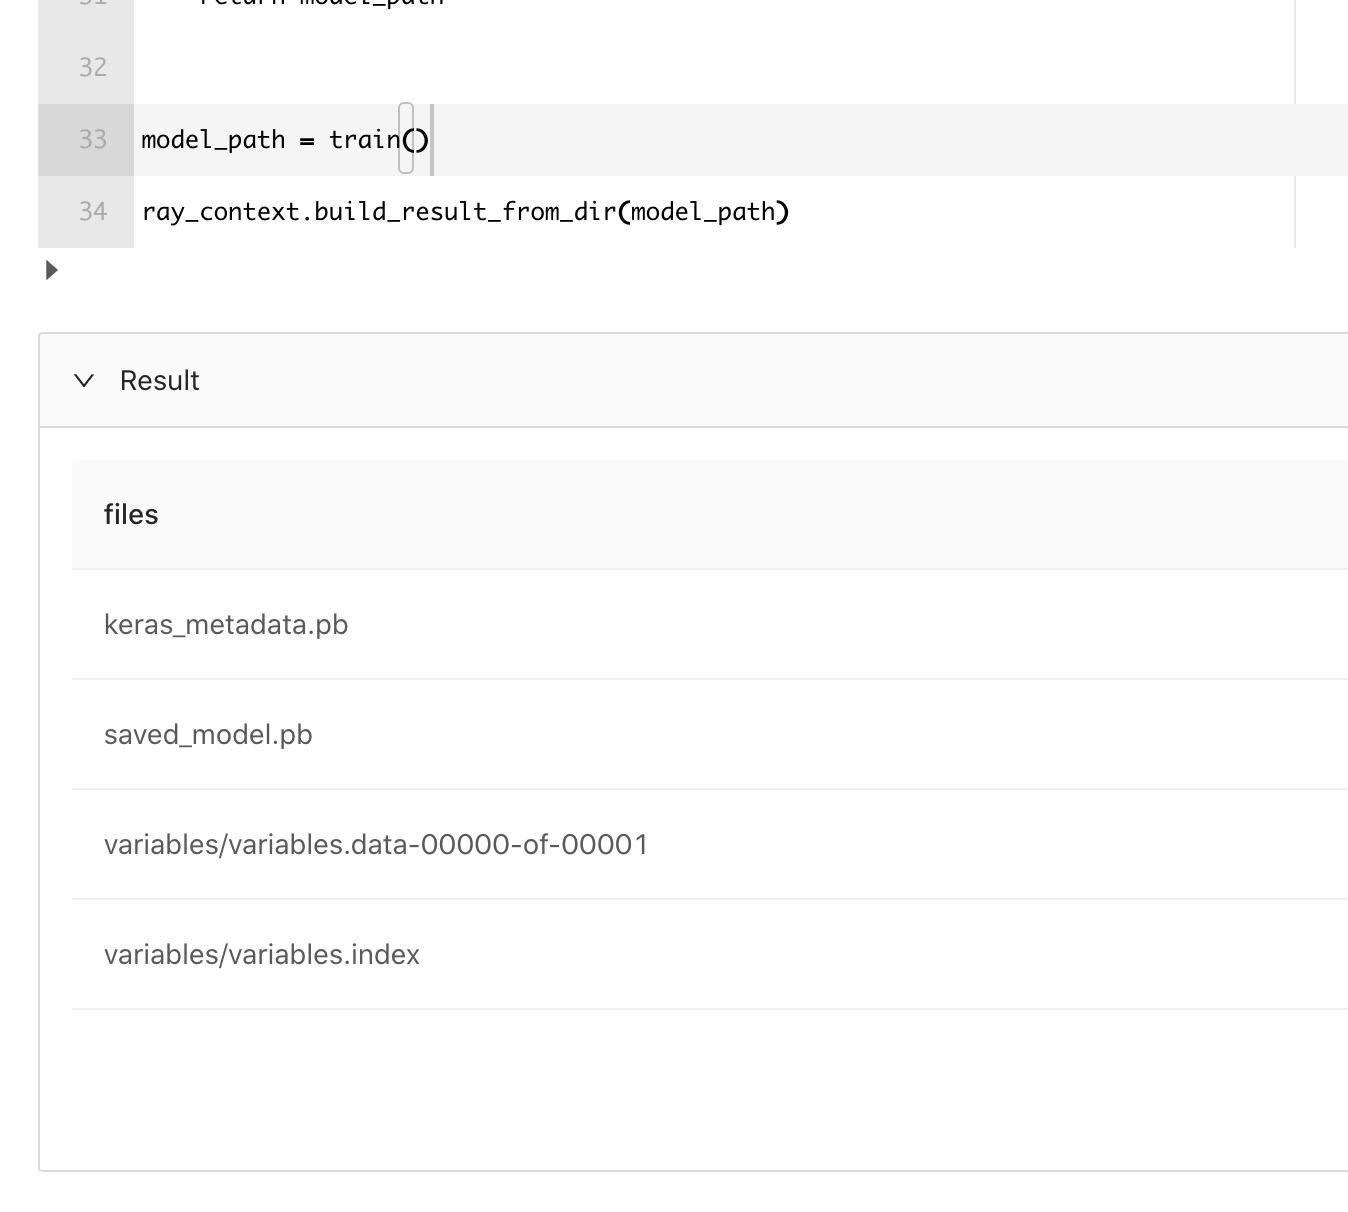
model_path = train()
ray_context.build_result_from_dir(model_path)
有几个核心点,我们讲解下,在cell最头部的有几个注解:
#%python
#%input=mnist_data
#%output=mnist_model
#%cache=true
分别标记了当前cell的语言,数据表名,输出表名,是不是缓存python的输出结果。通过这些信息,系统会自动生成如下的语句放到MLSQL引擎层去执行:
run command as Ray.`` where
inputTable="mnist_data" and
outputTable="mnist_model" and
cache="true" and
code='''
有的python代码
''';
显然,在Notebook里,使用起来会更简单更舒服些。
接着,我们需要获得一个会话对象:
ray_context = RayContext.connect(globals(),None)
通过该会话对象,我们可以获取表mnist_data的数据,或者输出python的数据到表mnist_model中。
获取数据的方式如下:
data_servers = ray_context.data_servers()
temp_data = [item for item in RayContext.collect_from(data_servers)]
data_servers 是数据源地址,他是一个数组。通过RayContext.collect_from可以获取到mnist_data数据。注意,RayContext.collect_from返回的是一个生成器,并且数据只能获取一次。这里我们简单期间,将所有的数据直接放到内存中,也就是temp_data对象。如果数据集很大,可以先存到磁盘再后续读取。
当我们完成模型训练时,将模型保存到了/tmp/minist_model 目录中,
model_path = os.path.join("tmp","minist_model")
network.save(model_path)
但是显然,这个是本地磁盘,我们需要能够将训练好的模型输出成一张表,方便后续保存到数据湖里去。这可以通过如下方式完成:
ray_context.build_result_from_dir(model_path)
此时,mnist_model表持有了整个模型目录的数据。我们可以通过select语句验证下:
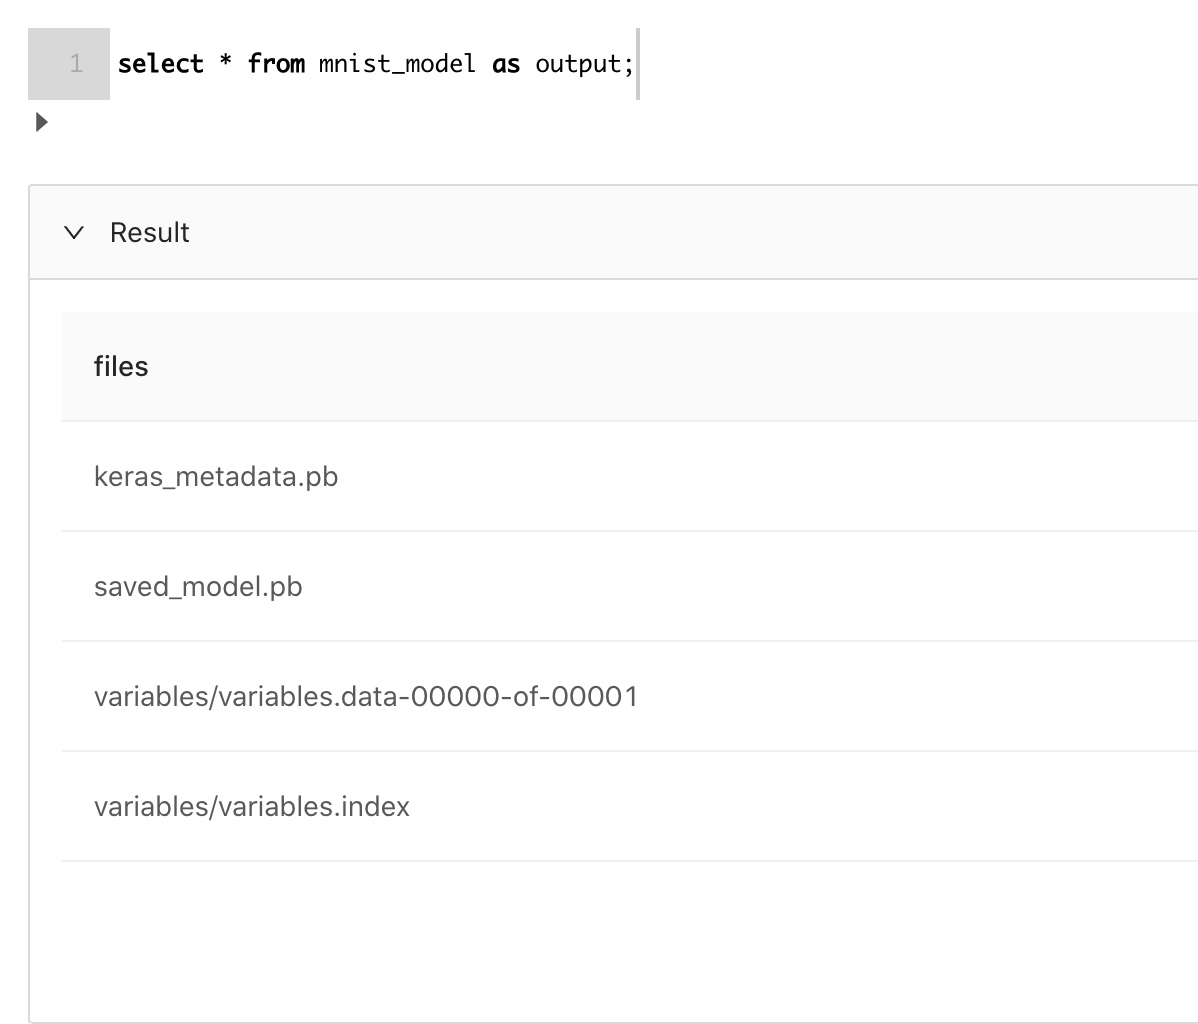
验证确实是tensorflow的模型。
现在,我们把模型保存进数据湖:

数据湖是有版本的,所以我们也可以查看模型的版本:

至此,训练部分完成。
使用Tensorflow进行训练(On Ray版本)
我们也可以将训练跑在Ray上。 和非Ray版本大同小异,完整代码参看:
#%python
#%input=mnist_data
#%output=mnist_model
#%cache=true

import ray
import os
from tensorflow.keras import models,layers
from tensorflow.keras import utils as np_utils
from pyjava.api.mlsql import RayContext
from pyjava.storage import streaming_tar
from pyjava import rayfix
import numpy as np


ray_context = RayContext.connect(globals(),"127.0.0.1:10001")
data_servers = ray_context.data_servers()

def data():
    temp_data = [item for item in RayContext.collect_from(data_servers)]
    train_images = np.array([np.array(item["image"]) for item in temp_data])
    train_labels = np_utils.to_categorical(np.array([item["label"] for item in temp_data])    )
    train_images = train_images.reshape((len(temp_data),28*28))
    return train_images,train_labels

@ray.remote
@rayfix.last
def train():
    train_images,train_labels = data()
    network = models.Sequential()
    network.add(layers.Dense(512,activation="relu",input_shape=(28*28,)))
    network.add(layers.Dense(10,activation="softmax"))
    network.compile(optimizer="rmsprop",loss="categorical_crossentropy",metrics=["accuracy"])
    network.fit(train_images,train_labels,epochs=6,batch_size=128)
    model_path = os.path.join("tmp","minist_model")
    network.save(model_path)
    model_binary = [item for item in streaming_tar.build_rows_from_file(model_path)]
    return model_binary

model_binary = ray.get(train.remote())
ray_context.build_result(model_binary)
有些差异的地方是,我们需要把模型目录转化为二进制流返回,方便client把数据从Ray中返回给Engine端:
model_binary = [item for item in streaming_tar.build_rows_from_file(model_path)]
    return model_binary
最后,使用之前的方式build即可:
ray_context.build_result(model_binary)
预测部分
我们先加载模型和数据:

接着设置下待会我们预测的结构:
两部分对应的代码如下::
load delta.`ai_model.mnist_model` as model;
load parquet.`/tmp/mnist` as mnist_data;
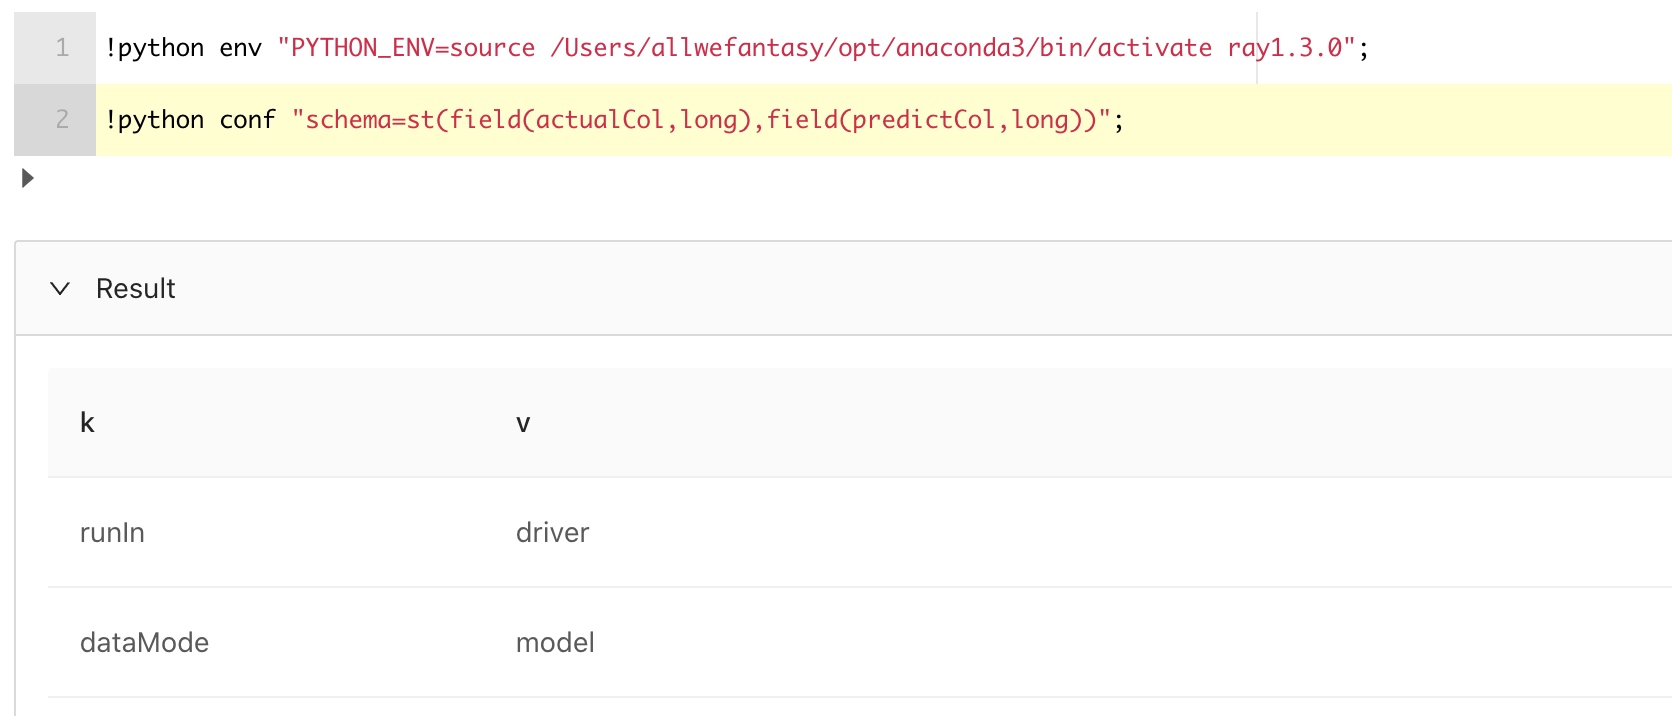
!python env "PYTHON_ENV=source /Users/allwefantasy/opt/anaconda3/bin/activate ray1.3.0";
!python conf "schema=st(field(actualCol,long),field(predictCol,long))";
现在,我们可以写python代码对数据进行预测了:
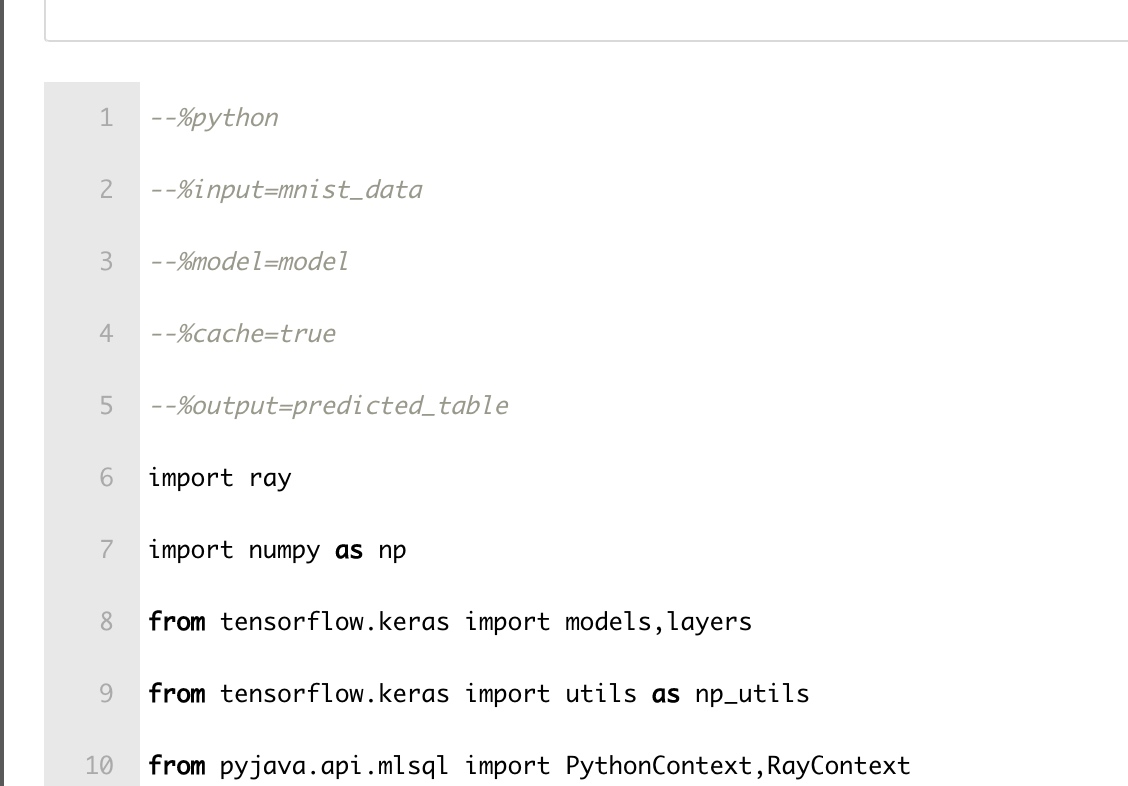
结果如下:

下面是完整代码:
#%python
#%input=mnist_data
#%model=model
#%cache=true
#%output=predicted_table
import ray
import numpy as np
from tensorflow.keras import models,layers
from tensorflow.keras import utils as np_utils
from pyjava.api.mlsql import PythonContext,RayContext
import mock
import os
import numpy as np
from pyjava import rayfix

ray_context = RayContext.connect(globals(),None)
conf = ray_context.conf()
home = conf["HOME"]

## rebuild model from data lake
model_path = os.path.join(home,"tmp","minist_model7")
model_servers = RayContext.parse_servers(conf["modelServers"])
ray_context.fetch_as_dir(model_path,model_servers)
model = models.load_model(model_path)

## get data  and use model to predict
## notice that ray_context.collect() generator if your dataset is big,
## try get the data by chunk.For simplicity, in this exmaple, we get all data
## from mnist_data
temp_data = [item for item in ray_context.collect()]
train_images = np.array([np.array(item["image"]) for item in temp_data])
train_labels = np_utils.to_categorical(np.array([item["label"] for item in temp_data]))
train_images = train_images.reshape((len(temp_data),28*28))
predictions = model.predict(train_images)
result = [{"actualCol":np.argmax(a),"predictCol":np.argmax(b)} for (a,b) in zip(predictions,train_labels)]
print(result[1])
context.build_result(result)
有几个点需要单独说明下.
首先,在Python中如何获取存储在数据湖中的模型呢?通过如下代码即可完成:
model_path = os.path.join(home,"tmp","minist_model7")
model_servers = RayContext.parse_servers(conf["modelServers"])
ray_context.fetch_as_dir(model_path,model_servers)
model = models.load_model(model_path)
如果用户配置了#%model=注解,那么ray_context.conf()会有模型的地址,通过ray_context.fetch_as_dir(model_path,model_servers)可以还原到本地磁盘中。
然后获取数据的部分就和之前的方法是一样了,这里我们通过collect方法可以隐式获取:
temp_data = [item for item in ray_context.collect()]
在预测中,我们把实际值和预测值输出成一张新表,方便后续评估我们的实际效果。 现在,可以通过如下语句看到结果:

接着我们使用MLSQL 的内置模块ConfusionMatrix计算各种指标:

是不是很有帮助?
如何使用功能IDE调试MLSQL中的Python代码
我们看到,在MLSQL中,Python可以和SQL 进行无缝衔接,可以直接在Web Console中运行,极大的提高了生产力。但是当前的Console编辑器对Python支持不是很友好,这包括无法做代码提示。那我们该怎么办呢?能不能在IDE里调试好了再放到Console里跑实际的数据呢?
实际上,略作调整,我们便可以让MLSQL的Python代码脱离MLSQL 引擎来执行。
首先,通过检查是不是有context对象来确定代码是运行在MLSQL 引擎里还是独立运行的。
is_in_mlsql = "context" not in globals() and "context" not in locals()
其次,对于context对象,我们可以引入mock避免调用出现错误:
context = mock.Mock()
现在,你就可以通过is_in_mlsql 来做一些判断,使得脚本可以脱离MLSQL Engine测试。文章最末尾有我写的一个示例代码。
下一步
作为MLSQL深度学习入门的第一篇,我们看到了使用MLSQL做深度学习的简单性。完美的将大数据体系和AI生态体系进行融合。 下一篇中,我们将介绍如何在MLSQL中,使用Tensorflow进行分布式训练。
最后,看看我的完整版notebook

附录
--%python
--%input=mnist
--%output=model
--%confTable=pconf
--%cache=true

import ray
from tensorflow.keras import models,layers
from tensorflow.keras import utils as np_utils
from pyjava.api.mlsql import PythonContext,RayContext
import mock
import os
import numpy as np
from pyjava import rayfix


is_mock = "context" not in globals() and "context" not in locals()
enable_ray = not is_mock and "rayAddress" in context.conf and context.conf["rayAddress"]!=""
home = "/" if is_mock else context.conf["HOME"]

if not is_mock:
    ray_address = None if not enable_ray else context.conf["rayAddress"]
    ray_context = RayContext.connect(globals(),ray_address)
    data_servers = ray_context.data_servers()
else:
    context = mock.Mock()
    ray.util.connect(conn_str="192.168.31.207:10001")
def data():
    if is_mock:
        from tensorflow.keras.datasets import mnist
        (train_images,train_labels),(test_images,test_labels) = mnist.load_data()
        train_images = train_images.reshape((60000,28*28))
        train_images = train_images.astype('float32')/255

        test_images = test_images.reshape((10000,28*28))
        test_images = test_images.astype('float32')/255

        train_labels = np_utils.to_categorical(train_labels)
        test_labels = np_utils.to_categorical(test_labels)
    else:
        temp_data = [item for item in RayContext.collect_from(data_servers)]
        train_images = np.array([np.array(item["image"]) for item in temp_data])
        train_labels = np_utils.to_categorical(np.array([item["label"] for item in temp_data])    )
        train_images = train_images.reshape((len(temp_data),28*28))
    return train_images,train_labels

@ray.remote
@rayfix.last
def train():
    return _train()

def _train():
    train_images,train_labels = data()
    network = models.Sequential()
    network.add(layers.Dense(512,activation="relu",input_shape=(28*28,)))
    network.add(layers.Dense(10,activation="softmax"))
    network.compile(optimizer="rmsprop",loss="categorical_crossentropy",metrics=["accuracy"])
    network.fit(train_images,train_labels,epochs=6,batch_size=128)
    model_path = os.path.join(home,"tmp","minist_model")
    network.save(model_path)
    return model_path

if  is_mock:
    model_path = ray.get(train.remote())
else:
    model_path = ray.get(train.remote()) if enable_ray else _train()

context.build_result_from_dir(model_path)